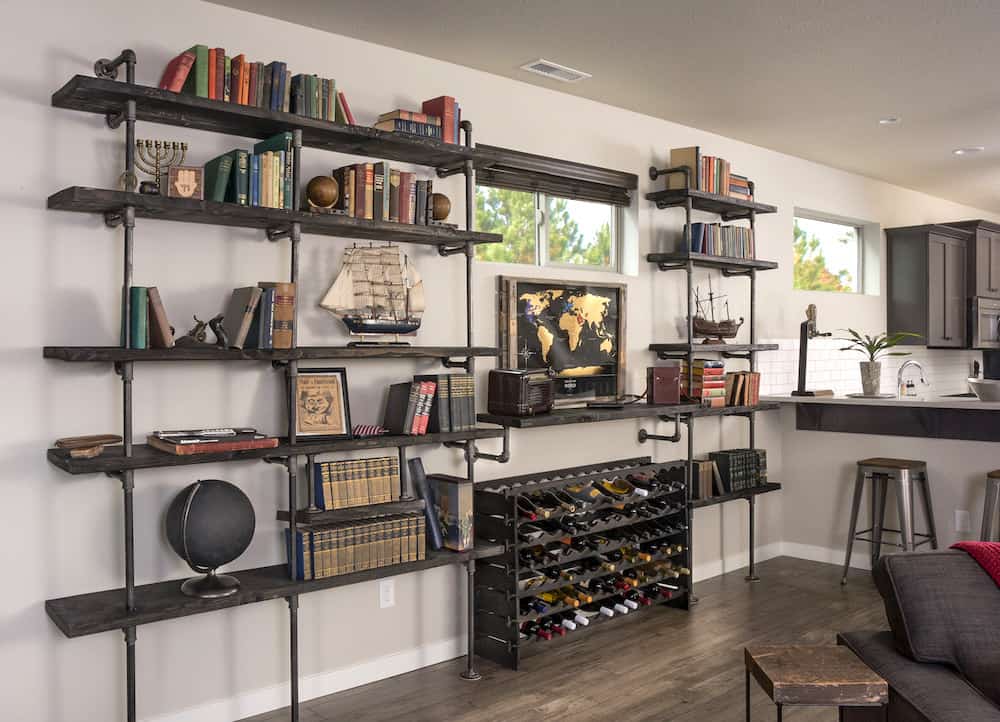
Looking for an effective way to organize and make the best use of your living space? Metal shelving offers a versatile storage solution, enhancing both the functionality and aesthetic of your home.
Ideal for various applications, from streamlining your garage space to adding functionality to your kitchen or a decorative touch to your living room, metal shelves are an excellent choice. This guide provides an easy, step-by-step process to install metal shelves, making it accessible for even those new to DIY.
After following this guide, you’ll be ready to revamp your space and add a unique flair to your home’s decor.

Why Opt for Metal Shelves?
Metal shelves are a favored choice for homeowners due to their strength, flexibility, and visual appeal. Here’s why they’re a great option:
- Durability: Made from sturdy materials like steel, metal shelves are resilient and long-lasting. They resist warping and rotting and can withstand various environments, from damp basements to hot garages.
- High Load Capacity: Their robust construction allows metal shelves to support heavier loads than wood or plastic alternatives, making them perfect for storing a diverse range of items.
- Versatility: Metal shelves come in various styles and sizes, catering to different needs and preferences. From industrial-style steel shelves to those with decorative finishes, they’re suitable for almost any room in your home.
- Easy Maintenance: Metal shelves are simple to clean and resistant to pests and moisture. A quick wipe with a damp cloth is often all that’s needed for upkeep.
Installing Metal Shelves: A DIY Guide
- Selecting the Right Shelving: Start by choosing metal shelving that suits your storage needs, considering the items’ size and weight and the installation location.
- Gathering Tools: Assemble necessary tools like a power drill, level, pencil, tape measure, screws, and, for shelving with brackets, a stud finder. Don’t forget safety goggles for drilling.
- Planning the Layout: Decide on the shelf heights based on what you’ll store. Mark these heights with a pencil for guidance.
- Finding Studs: Use a stud finder to locate wall studs for stable shelving installation. Mark these spots.
- Installing Brackets: Align brackets at marked heights, ensuring they’re straight with a level. Mark screw holes, then drill pilot holes and secure brackets with screws.
- Placing Shelves: Position the metal shelves on the brackets, securing them if necessary, and check for level alignment.
Final Thoughts
Installing metal shelving is a straightforward, affordable way to enhance storage and style in your home. Whether in your kitchen, garage, or living area, metal shelves offer a reliable and attractive solution for organizing and displaying items.

